Dept. III · Making
Faux Brass, Copper and Bronze: How to Make Plastic Look Like Old Metal
How to make plastic look like old brass, copper or bronze: scuff, prime, apply wax or spray metallic, age and seal it, with each maker's limits.
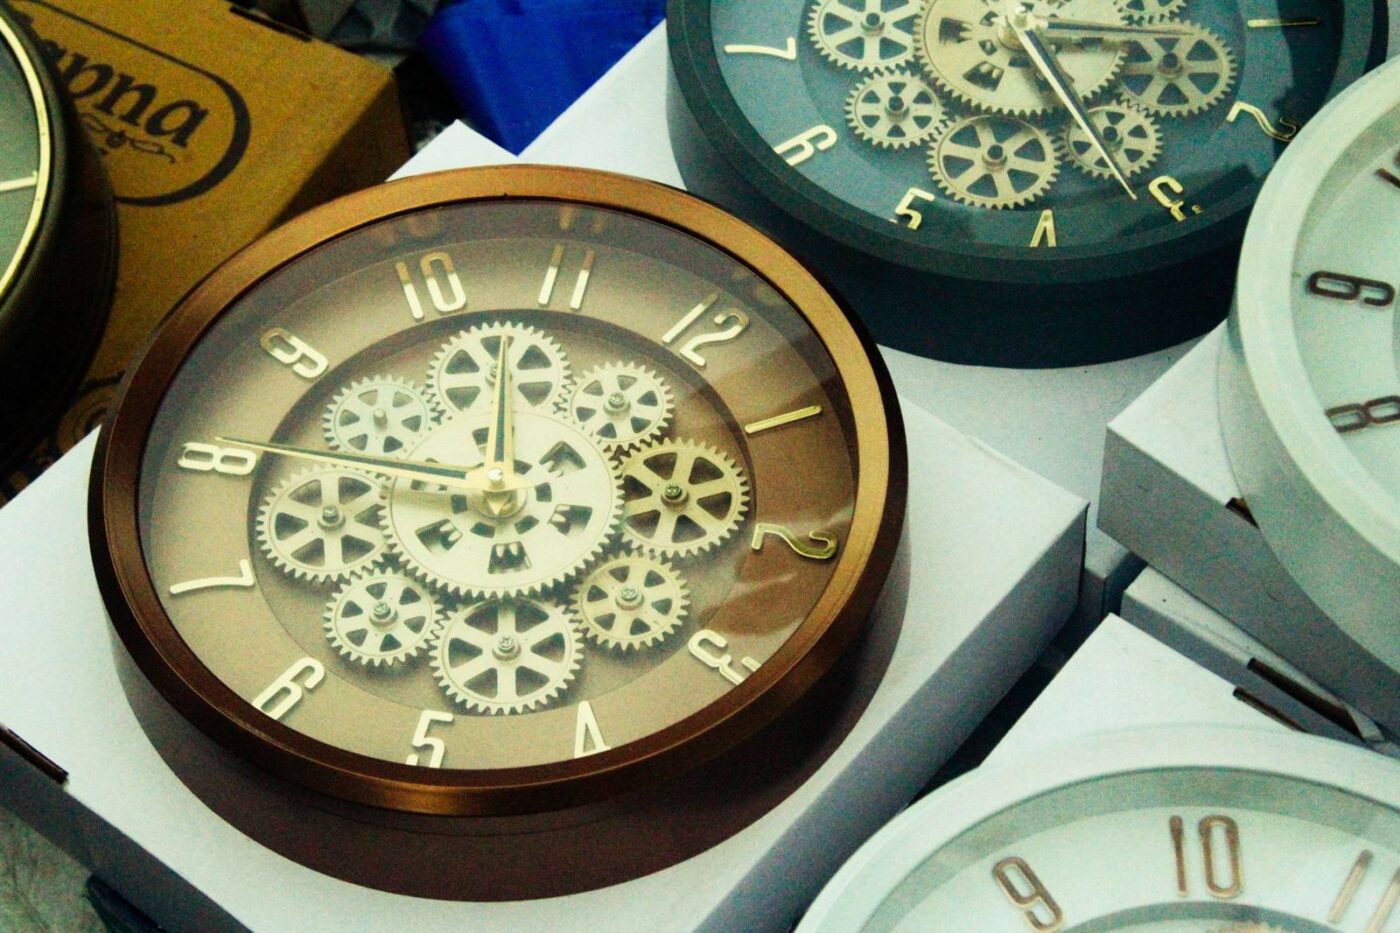
To make plastic look like old metal, clean and lightly sand it, prime it if the finish asks for that, apply a metallic wax or spray, and then age and seal it. Rub ‘n Buff wax goes on by gloved finger and is buffed, in colors including Antique Gold and Spanish Copper. Krylon Fusion All-In-One Metallic is made for plastic without sanding or priming, in copper, gold and oil-rubbed bronze, and is touch-dry in 20 minutes. A true green verdigris wants a reactive-paint kit. Each product has its own limits for temperature, moisture and recoating, and we give them below.
- Wax: scuff the surface, buff it, seal it if it is to be handled or kept outdoors
- Spray: best at 55 to 75 F and under 60% humidity; handling-dry in about an hour
- Rubber primer: apply at 70 to 80 F, four to five coats, 30 minutes apart
- Verdigris kit: covers up to 2 sq ft
- Spray in thin coats; heavy coats stay sticky
Disclosure: some links on this page are affiliate links, marked by the products they name. As an Amazon Associate, steampunkary.com earns from qualifying purchases. A purchase through these links may earn the site a commission at no cost to you, and it never affects what is recommended. How this works. Product prices and availability shown are as of the date stated and can change; the Amazon price at checkout applies.
The difference between a prop that looks like plastic and one that looks like metal lies chiefly in the finish, and hardly at all in the shape. A pair of goggles, a set of gears, a toy blaster or a hat ornament will all pass for brass at arm’s length if the paint is laid on properly, and none will pass if it is laid on thickly. The principal makers of these finishes publish their own limits, which we have read and set out here in the order of work. For the projects that use them, begin with our guide to steampunk DIY; for goggles in particular, see how to make steampunk goggles.
Steampunkary · Ad
The Outfitters' Catalogue
Everything named in this guide, by budget
Fig. 1Thrifty

Metallic spray paint for plastic
A spray made for plastic that needs no sanding or priming, in copper, gold and bronze.
$10.25 on Amazon, as of Nov 9, 2026See it
Fig. 2Thrifty

Rub 'n Buff metallic wax set
A wax finish applied by finger and buffed; a set gives several metals at once.
$9.87 on Amazon, as of Nov 9, 2026See it
Fig. 3Thrifty
Water-based acrylic sealer
To seal wax finishes that will be handled or kept outdoors; test it first.
$10.18 on Amazon, as of Nov 9, 2026See it
Fig. 4Thrifty

Fine sandpaper and steel wool
To scuff smooth plastic so a finish has something to hold.
$3.93 on Amazon, as of Nov 9, 2026See it
Fig. 5Thrifty

Metallic acrylic paint set
Brush-on metallics for small parts, gears and edges.
$24.99 on Amazon, as of Nov 9, 2026See it
Fig. 6Mid-range

Plasti Dip spray
A rubber coating used as a primer on foam and prop work.
$25.77 on Amazon, as of Nov 9, 2026See it
Fig. 7Mid-range

Green patina finish kit
A primer, copper paint and aging solution for a true verdigris.
$33.24 on Amazon, as of Nov 9, 2026See it
Fig. 8Thrifty

Disposable nitrile gloves
For applying wax by finger, and for any spraying.
$9.99 on Amazon, as of Nov 9, 2026See it
The Order of Work
The sequence below is our synthesis of the makers’ sheets and tutorials cited, and not a single maker’s instruction. Each product keeps its own rules.
- Clean and scuff. Rub ‘n Buff’s maker says the surface should be clean and lightly sanded with fine sandpaper or steel wool, or primed, since the wax may not stick to a surface with no texture.
- Prime, where the finish needs it. Krylon’s metallic spray does not; a rubber coating such as Plasti Dip does the work on foam.
- Lay the base and metallic coats, thin and in the temperature range the can names.
- Age it: a wax glaze, a patina solution, or a restrained second metal.
- Seal it, if the piece will be handled much.
Which Finish for Which Job
| Finish | Best for | Principal limits |
|---|---|---|
| Rub ‘n Buff wax | Small parts, edges, highlights, goggles | Keep from moisture and electricity; maximum 120 F; seal if outdoors |
| Krylon Fusion All-In-One Metallic | Whole pieces of plastic | Best at 55 to 75 F, humidity under 60% |
| Plasti Dip, then metalizer | Foam and prop work | 70 to 80 F, humidity under 60%, outdoors or well ventilated |
| Metallic acrylics (brush) | Gears, trim, repairs | Wax-based metallics are harder to find |
| Reactive patina kit | A true copper verdigris | A kit covers about 2 sq ft |
Wax: Rub 'n Buff
AMACO describes Rub ‘n Buff as carnauba waxes with fine metallic powders and pigments. One rubs it on with a gloved finger, swab or soft cloth, then buffs; the first coat goes on generously with a paper towel, is left a few seconds, and a second coat is buffed as it dries. The colors listed are Antique Gold, Silver Leaf, Grecian Gold, European Gold, Ebony, Pewter, Spanish Copper, Autumn Gold and Gold Leaf. No tube is called brass; of those, the golds are the nearest.
Its limits are firm. It is not recommended for surfaces exposed to moisture or electricity, it should be kept below 120 F, it is not archival, and outdoors it must be sealed with a water-based or acrylic sealer, tested first because sealers can change the sheen and color. It can separate in the tube, especially Ebony; capping and massaging the tube remedies it. For a price: a UK craft retailer, Fred Aldous, listed a 15 ml tube at GBP 15.82 when we looked in October 2026, so prices vary a good deal by seller and size.
The GeekDad goggle builder used the wax in layers to build texture and left the buffed parts about a week to cure before wearing them. The wax can transfer to skin and clothes until it is cured and the excess rubbed off.
Spray: Krylon Fusion and Plasti Dip
Krylon states that Fusion All-In-One Metallic needs no sanding or priming on plastic; it is touch-dry in about 20 minutes and ready to handle in about an hour, best at 55 to 75 F and under 60% humidity, with a 12-ounce can covering 20 to 25 square feet. Colors include Aluminum, Dark Copper, Copper, Silver, Rust, Gold, Oil Rubbed Bronze and Satin Nickel. The US page gives no recoat window, and we do not supply one.
Susan Dennard, painting goggles with inexpensive silver and gold spray in 2011, gives the rule that every spray maker would endorse: too much paint and the goggles turn sticky, and her first pair had not dried after five days. Spray lightly, tape the lenses, and let each coat dry.
For foam, a common primer is Plasti Dip. Its own manual calls for application at 70 to 80 F and humidity below 60%, four to five coats with 30 minutes between, and four hours before use, outdoors or in a well-ventilated area; its metalizers (silver, gold, copper, blue, bright aluminum, bright gold) go over a cured base. Kamui Cosplay calls the primer hazardous and advises spraying outdoors or in a booth, and reckons a can at about $8 in 2017. Foam work is dealt with in our page on EVA foam armor.
Brush Metallics
Kamui Cosplay’s shopping guide recommends Amsterdam and Reeves acrylics for opaque and metallic effects, and notes that wax-based metallic colors are harder to find than the others. We found no maker’s sheet for airbrush paints that we could cite, and leave them out.
Verdigris: The Aged Copper Look
The look of green-aged copper or brass is a separate job. Rust-Oleum’s Modern Masters Metal Effects kits (Green Patina, Rust and Blue Patina) are described as three steps and as covering up to 2 square feet. A blogger’s walk-through gives the sequence: two coats of Metal Effects primer, a 12-hour wait, a coat of copper reactive metallic paint, about 30 minutes to dry, a second coat, and then the aging solution sprayed at once, with several minutes for the patina to develop. She tried the spray on a sample board first, since the amount changes the look; heavy in the crevices and light on raised edges was her result. Whether the kit works on foam is untested in anything we read. See how to make a verdigris or patina finish for the fuller treatment.
A Word on Safety
Paints and solvents are the hazards on this page, and the only sound guide is the maker’s sheet. Krylon links a safety data sheet for each color from its product page and gives lacquer thinner for cleanup. Plasti Dip’s manual says to apply it outdoors or well ventilated, and names naphtha, xylene and toluene for cleanup; Kamui calls it hazardous. We found no source naming the correct respirator, and so name none: the safety data sheet will say which, if any, the product requires.
For the wax: AMACO’s label restricts Rub ‘n Buff from children under 13; wax is removed from hands with Simple Green or Lava soap, and from objects by sanding or with turpentine. As for goggles built with these finishes, a painted costume pair is not eye protection; wear proper safety glasses when sanding or spraying, as set out in how to make steampunk goggles. More on workshop practice is in workshop safety for costume makers.
Frequently Asked Questions
What paint sticks to plastic?
Krylon says its Fusion All-In-One Metallic needs no sanding or priming on plastic. Rub ‘n Buff wants a lightly sanded or primed surface.
How do you make plastic look like brass?
Use a gold wax or spray in thin coats over a clean, scuffed surface and buff or age it to taste; no Krylon or AMACO color we read is named brass.
How long does Krylon metallic take to dry?
About 20 minutes to touch and about an hour to handle, in 55 to 75 F and under 60% humidity.
Do I need to seal Rub 'n Buff?
For outdoor use, yes: AMACO says to seal it with a water-based or acrylic sealer, tested first.
How do you make a verdigris finish?
A patina kit applies a primer, a copper reactive paint and an aging solution; one blogger waits 12 hours after the primer and sprays the solution on the wet second coat.
Is spray paint safe to use indoors?
Read the safety data sheet. Plasti Dip’s manual says outdoors or well ventilated, and Kamui advises spraying outdoors or in a booth.