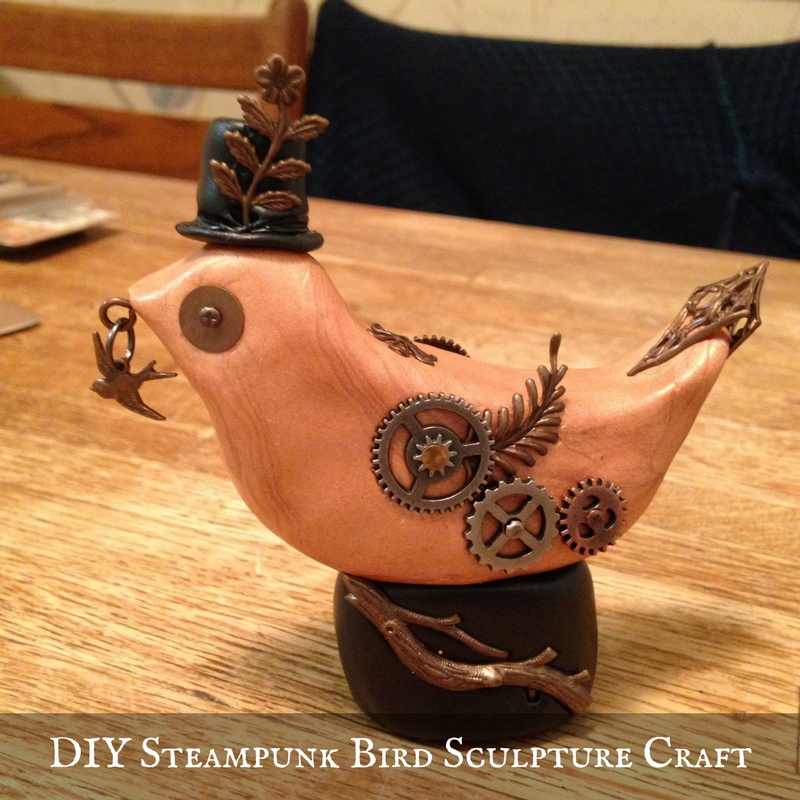
If you are looking for a great gift idea for Father’s Day that you can make yourself, consider a project a little out of the ordinary. The steampunk style is fun to create for a gift or for your own decor. Why not make dad a great DIY steampunk bird sculpture craft that can sit on his desk or shelf?
This step-by-step photo tutorial that will show you everything you need to make your own DIY steampunk bird sculpture that dad is sure to cherish. For this project, Premo! polymer clay was used as the base. The piece was then embellished with Vintaj decorative steampunk accents for a great finishing touch.
Step One: Gather Your Supplies
For this project you will need an 8-ounce block of polymer clay or several smaller blocks. Choose a color that works with your planned color scheme.
Materials and Tools
- 8 0z Sculpey Premo! or another polymer clay
- Set of plastic clay sculpting tools
- Tim Holtz Idea-ology
- Vintaj Embellishments
- Steampunk gears, keys
- Doll-size top hat or fedora
- Hot glue gun
- Glue sticks
Step Two: Mold the Body
The first step with polymer clay of any type is to condition the clay. Conditioning makes the clay soft enough to use. My daughter helped me with this project and here she is conditioning the clay. We made a game out of it. You need to knead the clay over and over until it is soft enough to mold easily.
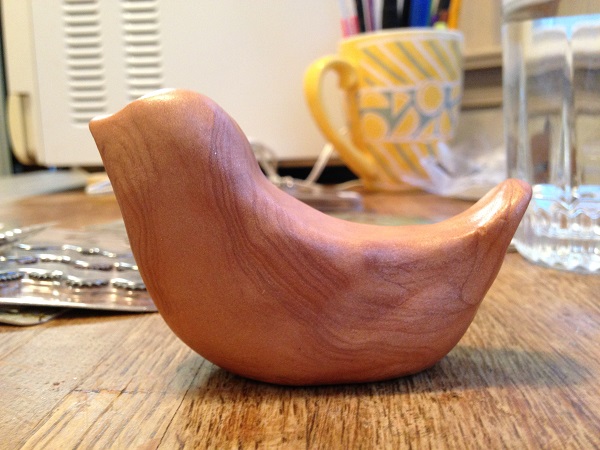
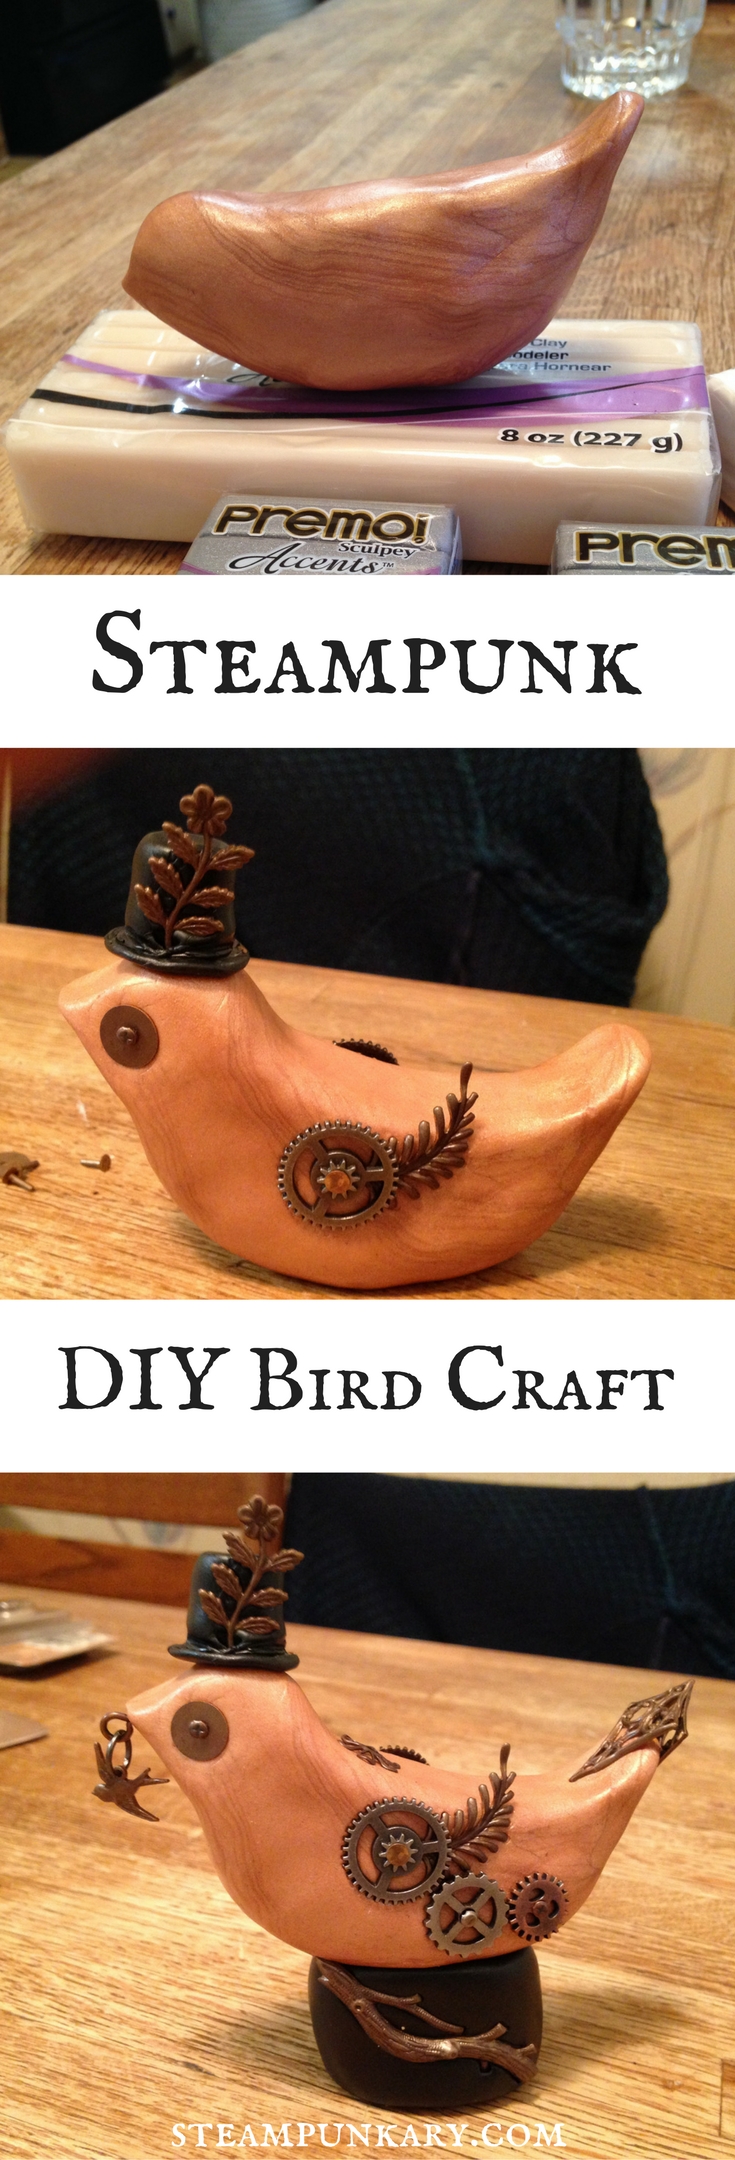
The next step is to mold the body into the shape you want. This is the body I molded. My daughter made a different one.
Step Three: Adding Wings, Hat, Eyes and Decorative Elements
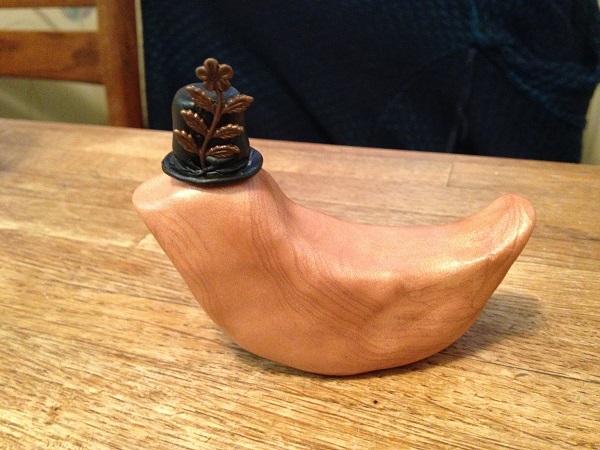
First, I added a top hat with a Vintaj element to give it more decorative. The top hat was formed from black Premo!
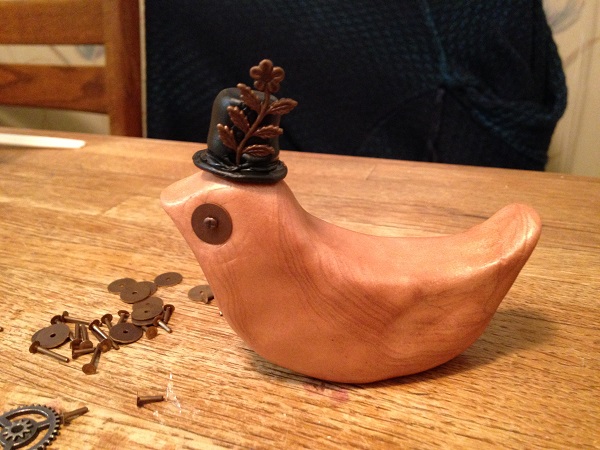
Next I added an eye with a monocle using Vintaj rivets.
Using other Vintaj and Tim Holtz Idea-ology pieces I made wings for my bird.
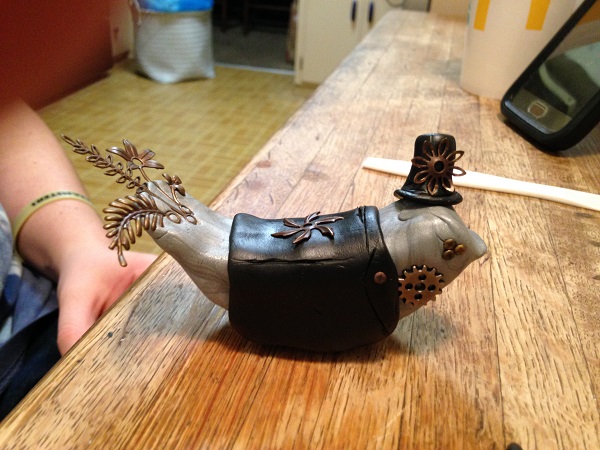
My daughter’s bird looked different than mine. Hers got a jacket and different decorations.
We used plastic silverware for most of our tools to cut, smooth and shape the clay. Use as much or as little clay as you need to make each part.
Step Four: Add a Base
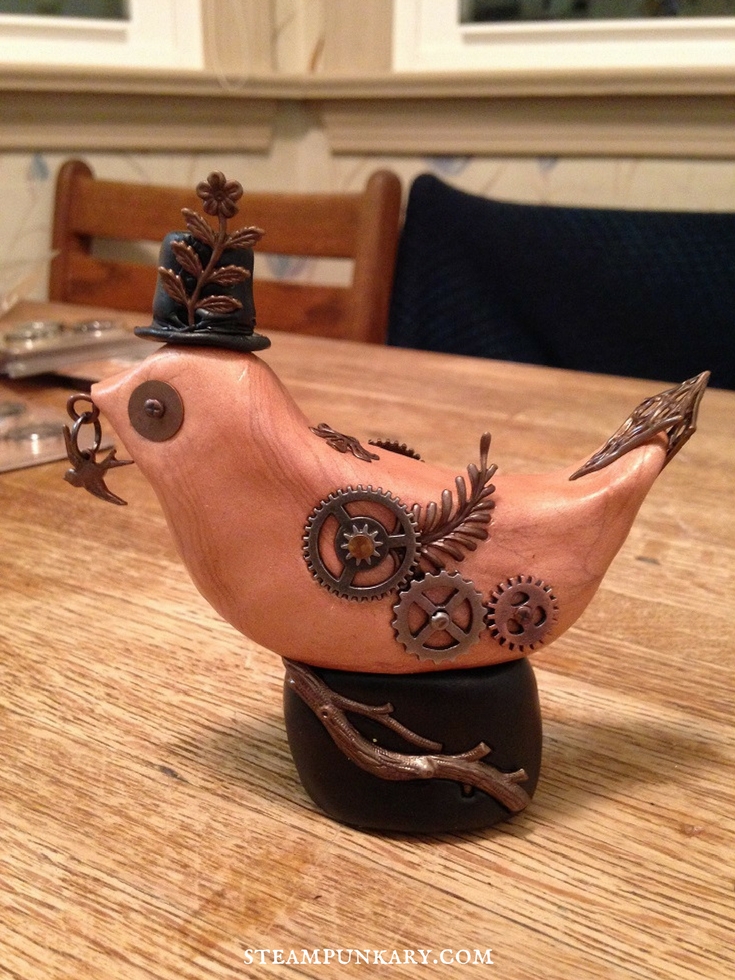
I created a base from black Premo! and added embellishments to it from leftover pieces of Vintaj elements. I also added an eye pin and dangled a smaller bird from it for a little added interest. The toughest part was making the stand and bird balance properly. Below you can see the finished sculpture before baking.
Step Six: Baking
Make sure to fully read and understand the directions for baking the clay that you use. Temperatures and baking times vary from brand to brand. For the Sculpey Premo! polymer clay used in the example, the clay was baked at 225 degrees Fahrenheit for 15 minutes for each 1/4-inch of thickness. Therefore it took a while. You can place your bird in any container that can go in the oven or on a piece of thick foil. It does need to stay standing so that it will bake properly.
After it is cool, you may need to get out your glue gun to glue back any elements that fell off when baking. Since the clay shrinks most of them will stay but you might have to fix a couple.
Project Notes
Craft items already in your home or other household items such as nuts and bolts can be used for this project. You can also use a wooden base as the bird form and place the polymer clay over it to design the bird. This project creates a one-of-a-kind gift that you can give for Father’s Day or other holidays.
