Crafting your own Steampunk accessories and gear can be a lot of fun. Recently, I began looking around for some new Steampunk DIY craft ideas that were different from the projects I had already seen before. These project ideas are great for those who are looking to expand their own collection of Steampunk decor or cosplay props and also make great ideas for birthday and holiday gifts for those who appreciate steampunk. This list provides a range of ideas for do-it-yourself craft projects that range from beginner level to the more advanced.
While some of these craft projects are beginner friendly, others require more advanced skills such as sewing or use of tools. Browse through these great Steampunk craft ideas to learn more about them and what skills are needed to make them.
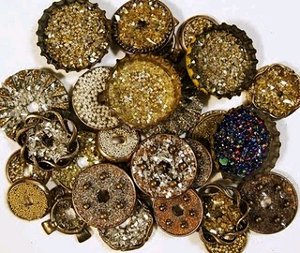
Glittery Buttons by Emily M. Miller
Create these glittery buttons from Art Glitter using loose gold glitter. Add these buttons to your steampunk hats or outfits, or display them on other craft projects for a great Steampunk look. This craft uses designer dry clear adhesive, bottle caps, backs of buttons, spoon, Vintage Glass Glitter, and Art Glitter Glass Beads. Great project for any crafting level.
DIY Vintage Candles by Lina
These homemade candles are simple to make and can make great decorating and gift giving ideas for yourself and others. You will need printable burlap fabric, pillar candles, scissors, hot glue gun and glue sticks and an printable stamp. (Stamps shown were from The Graphics Fairy). Choose a cool steampunk theme for your stamp and create away!
Tree of Life Pendant by Maryann Goldman
This is a wire-wrapped pendant that is fun and easy to make. This craft uses a wire ring, crafting wire, and beads or Steampunk clock gears. Scroll down the page to find a tutorial of the Steampunk version of the Tree of Life pendant. You can use small jewelry findings of gears and Steampunk items, or actually take an old watch apart to collect your needed pieces. Makes a great jewelry accessory for a cool Steampunk look.
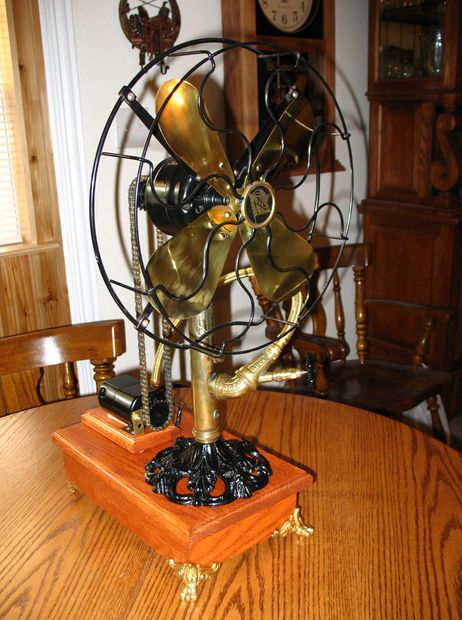
Steampunk Style Fan by reluctant_paladin
For the more advanced crafter, this cool fan was created using parts from an old brass blade fan, a cast iron lamp base, and parts from an old brass pump insecticide sprayer, clock parts, cogs, and nylatron roller chain. Look through this tutorial and slide show to find inspiration for your own Steampunk fan, as parts cannot be identically duplicated. Makes a great decorative piece for the home or office!
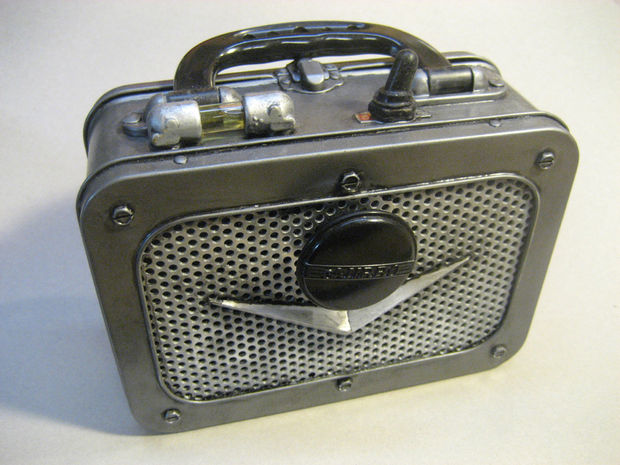
Dieselpunk Stereophonic Amplifier by garagemonkeysan
This craft is for the person who likes to tinker with drills and saws and other tools, and who is mechanically inclined. A variety of tools are needed (full list provided on web page), as well as a variety of electrical components. This tutorial is medium to high level for those who want to attempt it. Makes a functional and decorative piece.
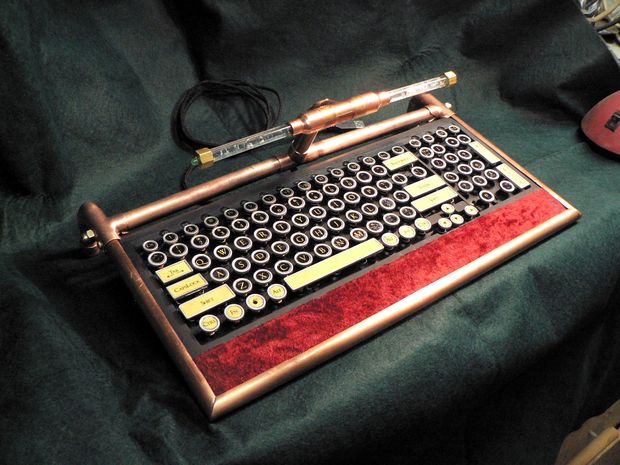
Miss Betsy’s Steampunk Keyboard by MissBetsy
This is another of the Steampunk DIY craft ideas that requires some skill with tools. It involves taking a keyboard and “Steampunking it out.” Cost of this project ranges from about $40 to $80, depending upon materials chosen. You will also need advanced tools such as a drill press, pipe cutter, and soldering iron. Perfect for someone who has their own shop set up in the garage.
Steampunk Mr. Potato Head by saritamarianyc
A great Steampunk take on a child’s classic toy. For this project, you’ll need a Mr. Potato Head body and arms (to paint copper or silver), X-acto knife, hot glue gun, cutting mat, Dremel tool kit , thick card stock, Premo Sculpey baking clay, paint brushes, sandpaper, acrylic paint in metallic colors, and odds and ends such as wire, metal piping, plastic pieces. Use the image as inspiration to create your own Steampunk potato pal.
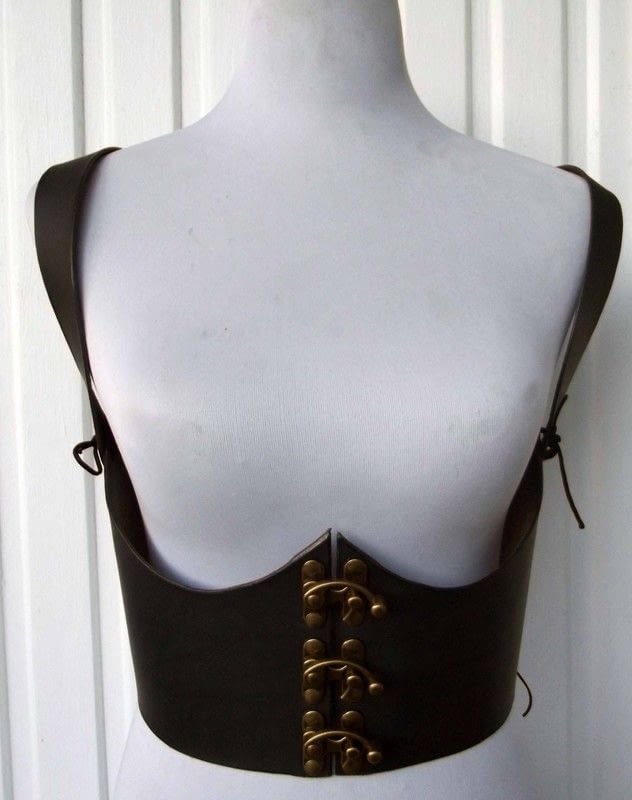
Underbust Harness in Leather by Wolf Crafts
For this project you will need leather, straps, buckles, lace, eyelets, and clasps. This is a downloadable printable pattern. For the more advanced crafter who is interested in making a somewhat pricey project. Great addition to any Steampunk wardrobe.
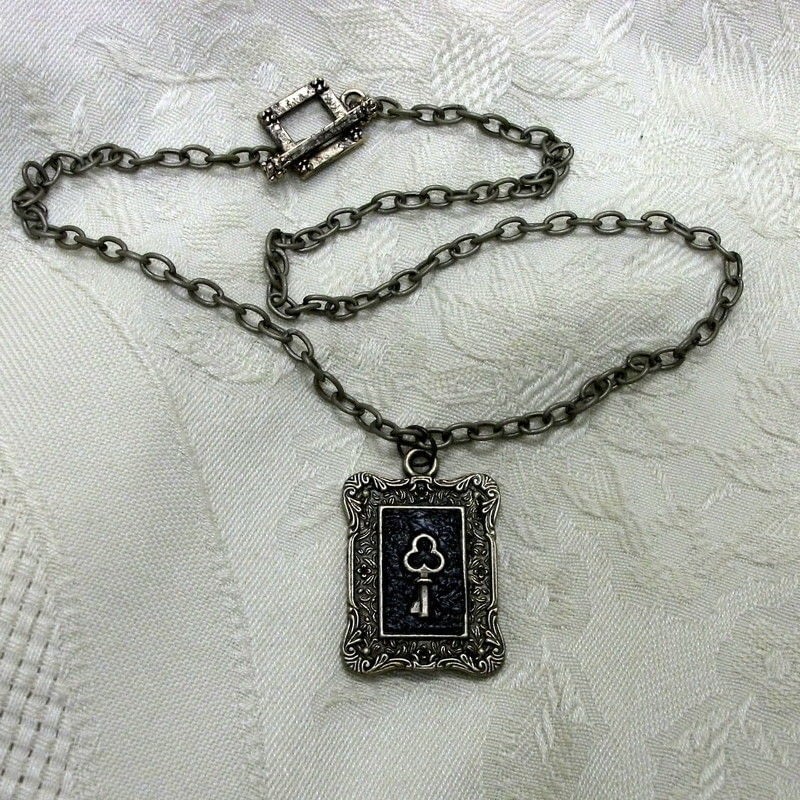
Antique Key Polymer Clay Necklace by Nora C.
This project uses polymer clay, a tiny frame pendant, key charm, two-part resin, and oven, and bail and chain. Uses a polymer clay base surface textured with a piece of stiff lace. Brass key is embedded into clay before it is baked. Coat with a layer of mixed resin when cooled and add chain for a great pendant necklace with Steampunk flair!
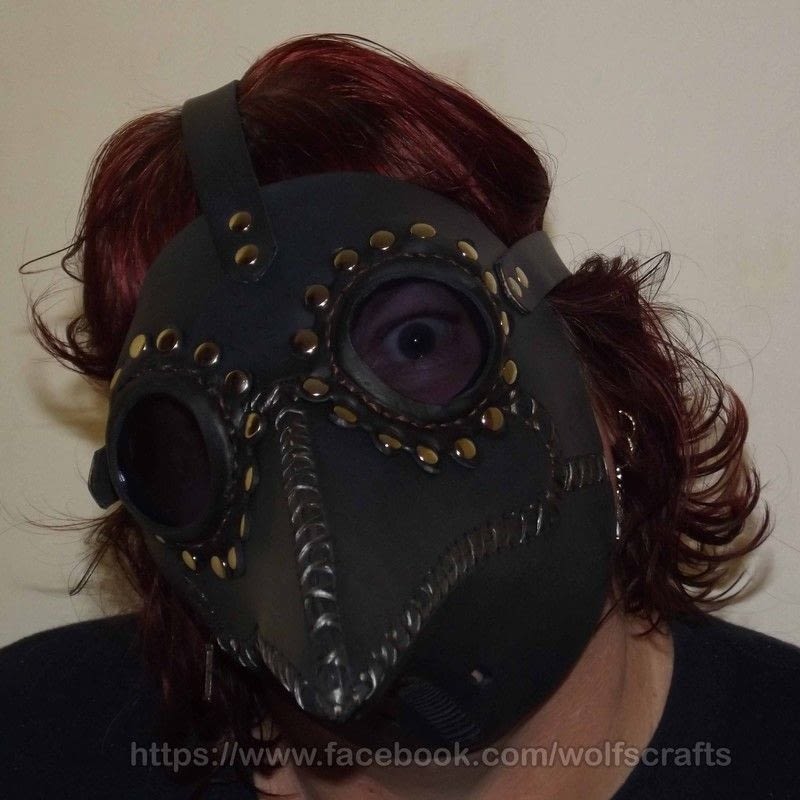
Plague Doctor Mask the Raven by Raven W.
Make a great replica of a Medieval plague doctor mask. Mask is made from leather and hand stitched using artificial sinew. The tutorial to make this leather craft is available to download and print. For the more advanced crafter who is skilled in working with leather.
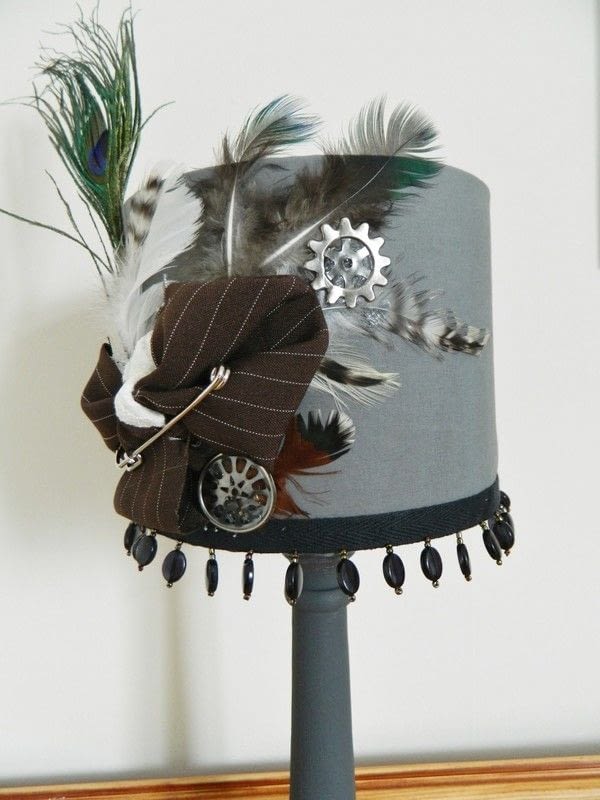
Steampunk Aviary Lamp Shade by HerNamel
For this project, you’ll need an old lamp shade, hot glue gun and glue sticks, fabric, braid and trimmings, feathers, cogs, and kilt pin. Tutorial for this project can be downloaded and printed. This Steampunk lampshade brightens up any room.
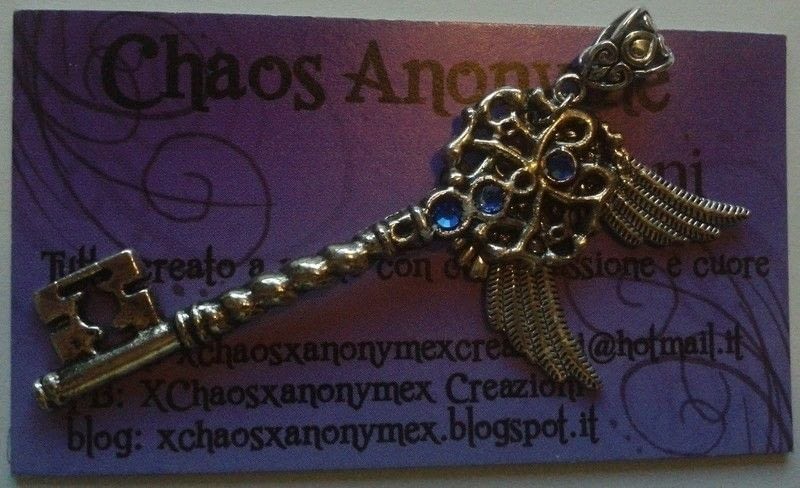
Key Pendant by ChaosAno
Use a key, wire, charms, a bit of imagination, and a chain to create this great Steampunk key pendant necklace. The tutorial for this simple project is available for downloading and printing.
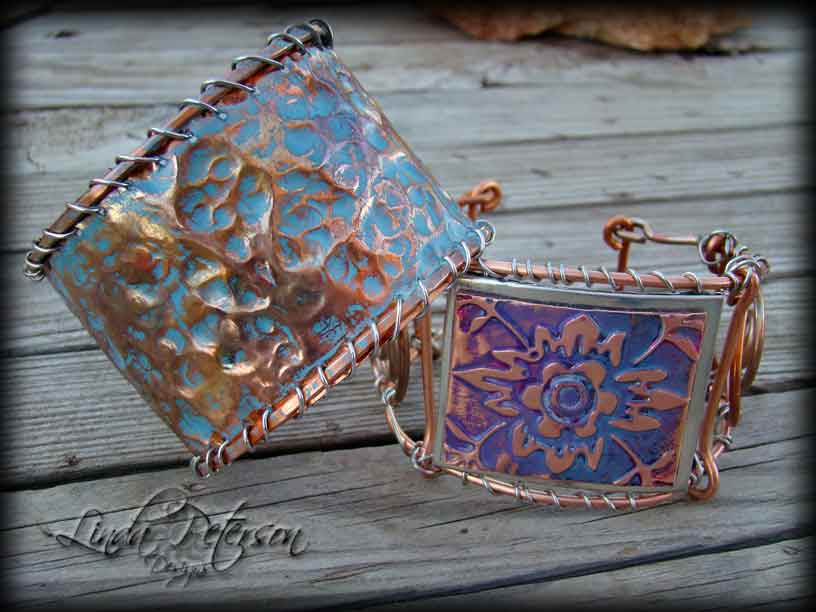
Hammered Copper Cuff Bracelet by Linda Peterson
Create this copper cuff bracelet with a hammered texture using ArtEmboss medium copper, Rub-N-Buff patina, non-tarnish silver wire and more. A full list of materials needed and instructions can be found on tutorial page.
Burnt Brown Bag Box by Heidi Borchers
Great for your own decor or to make for gift giving, this is a great craft that uses recycled materials. Using materials like a brown bag, pencil, Aleene’s Original Tacky Glue, cardboard, candle, matches, Rub n’ Buff Gold, to create this lovely box. Full instructions are listed along with photos.
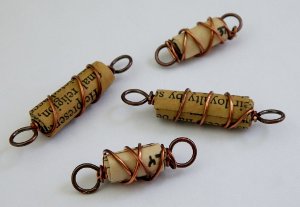
Wire-Wrapped Paper Beads by Linda Keese
Create these unique paper-wrapped beads using craft wire and pages from old, yellowed books. These beads that can be used for a variety of jewelry-making projects to add Steampunk flair. Step-by-step instructions and photos are listed on the linked tutorial page.
